Spring Boot + Azure Cosmos DB Demo
Spring Boot + Azure Cosmos DB Demo
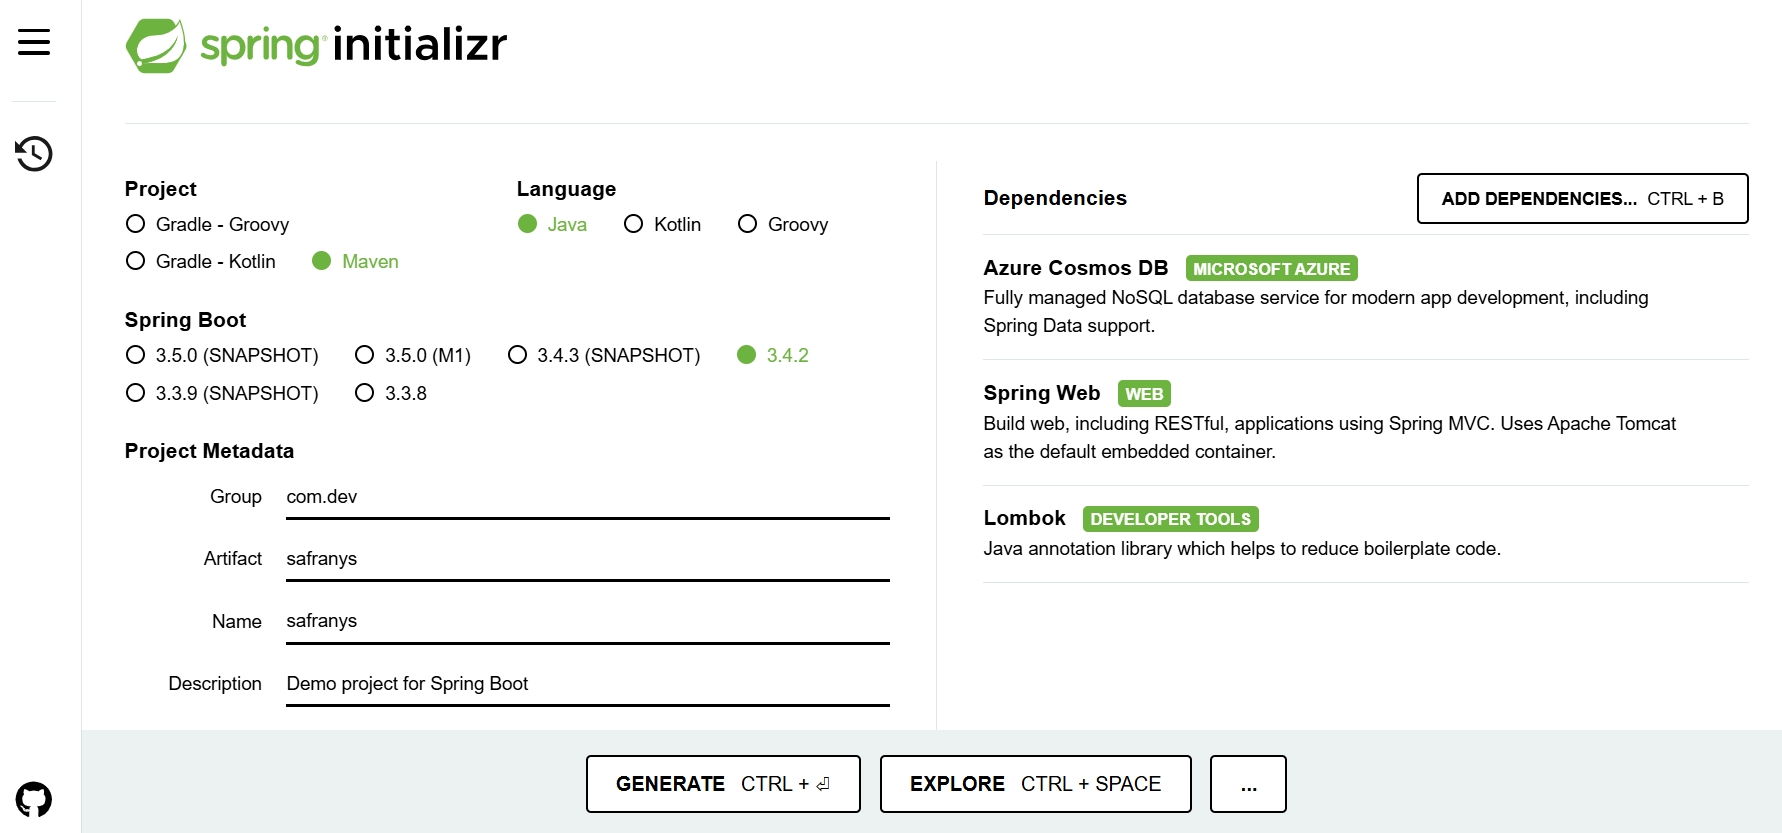
This project demonstrates how to connect and interact with Azure Cosmos DB from a Spring Boot application. It is bootstrapped using Spring Initializr
Overview
By using this code, you will learn how to:
- Create and configure an Azure Cosmos DB resource using the Azure CLI (or Azure Portal).
- Connect a Spring Boot application to Cosmos DB.
- Perform basic CRUD operations on user data stored in Cosmos DB.
Prerequisites
- Java: Version 21 or later
- Maven: Version 3.9.9 or later
- Azure Subscription: Required to create and access Azure Cosmos DB
- Azure CLI (
az): Required for command-line interactions with Azure
Create Azure Cosmos DB
You can create Azure Cosmos DB through the Azure Portal or by using the Azure CLI. The steps below use the Azure CLI.
1. Login to Azure
1az login
2# or
3az login --use-device-code
2. Create a Resource Group
1az group create --name=rg-common --location=northeurope
3. Create an Azure Cosmos DB Account
1az cosmosdb create --name my-cosmosdb-account-demo --resource-group rg-common
You may choose any name and preferred region for your Cosmos DB account.
In this example, we're usingmy-cosmosdb-account-demoandnortheurope.
4. Create database
1az cosmosdb sql database create \
2    --account-name my-cosmosdb-account-demo \
3    --name mycosmosdb \
4    --resource-group rg-common
Set Up the Application
1. Clone the repository:
1git clone https://github.com/coumarane/spring-boot-cosmosdb.git
2
3cd spring-boot-cosmosdb
2. Update the application.properties file (in src/main/resources/application.properties):
1azure.cosmos.connection-string=<<PRIMARY CONNECTION STRING>>
2azure.cosmos.database=mycosmosdb
Replace <<PRIMARY CONNECTION STRING>> with the primary connection string from your Cosmos DB account.
3. Build the application:
1./mvnw clean
2./mvnw install
3# OR
4./mvnw clean install
4. Run the application:
1./mvnw spring-boot:run
Testing the Application
1. Check health
1curl -i http://localhost:8080/health/
2. List All Mappings
1curl -i http://localhost:8080/actuator/mappings
3. Add Users
1curl -i -X POST -H "Content-Type: application/json" \
2    -d '{"email":"coumar@gmail.com", "firstName": "Coumar", "lastName": "COUPPANE", "city": "PARIS"}' \
3    http://localhost:8080/users
4
5curl -i -X POST -H "Content-Type: application/json" \
6    -d '{"email":"helios@gmail.com", "firstName": "Helios", "lastName": "SUN", "city": "PONDICHERRY"}' \
7    http://localhost:8080/users
4. Update a User
Note: Replace {id} with the actual user ID from the database.
1curl -i -X PUT -H "Content-Type: application/json" \
2    --data '{"email":"vini@gmail.com", "firstName": "Vini", "lastName": "COUCOU", "city": "PARIS"}' \
3    "http://localhost:8080/users/{id}
5. List All Users
1curl -i http://localhost:8080/users
6. List All User IDs
1curl -i http://localhost:8080/users/user-ids
7. Get User by ID
Note: Replace {id} with the actual user ID from the database.
1curl -i "http://localhost:8080/users/{id}"
8. Delete a User
Note: Replace {id} with the actual user ID from the database.
1curl -i -X DELETE "http://localhost:8080/users/{id}"
Swagger UI
There is currently a known permissions bug that will be fixed later. You can still access the generated OpenAPI spec and Swagger UI here:
- OpenAPI spec: http://localhost:8080/v3/api-docs
- Swagger UI: http://localhost:8080/swagger-ui/index.html